Cold Plunge Routine for Beginners: Your First 4 Weeks
A week-by-week cold plunge protocol for beginners. Covers temperature, duration, breathing, timing, and how to build a sustainable routine based on research.
Most people overthink their first cold plunge. They read about Wim Hof, watch videos of people screaming in ice baths, and assume they need extreme temperatures and iron willpower to get started.
The reality is simpler. Cold water immersion works through well-understood physiological mechanisms, and the benefits kick in at temperatures that are uncomfortable but manageable. You do not need to sit in near-freezing water to get results. You need a sensible progression and enough consistency to let your body adapt.
This guide gives you a concrete 4-week plan to go from zero cold exposure to a sustainable cold plunge routine, based on the research from Susanna Soberg, Andrew Huberman, and the broader clinical literature.
If you are completely new to cold therapy, our beginner’s guide to cold plunge therapy covers the science and safety fundamentals. If you are ready to compare tubs, see our best cold plunge tubs review.
The Numbers That Matter
Before diving into the weekly plan, here are the key parameters backed by research:
Weekly target: 11 minutes total across 2-4 sessions. This number comes from Huberman’s synthesis of the Soberg et al. research and related literature on dopamine and norepinephrine response.
Temperature range: 10-15°C (50-59°F) for most people. Cold enough to trigger a strong physiological response, manageable enough to stay in safely. Beginners should start at the warmer end (15°C / 59°F) and work down gradually.
Session length: 1-5 minutes per session, depending on experience. The primary neurochemical response (dopamine, norepinephrine) happens in the first 1-3 minutes. Longer sessions are fine but not necessary for most benefits.
Frequency: 2-4 sessions per week. Research from Soberg et al. (2021, Cell Reports Medicine) used 2-3 sessions per week combined with sauna, and found increased brown fat activity and improved cold-induced thermogenesis.
Breathing: The Skill That Makes Everything Easier
Controlling your breathing is the single most important skill for cold plunging. The cold shock response will try to make you gasp and hyperventilate. Overriding that reflex with calm, controlled breathing is what separates a productive session from a panicked one.
Before entering: Box breathing
Inhale for 4 counts. Hold for 4 counts. Exhale for 4 counts. Hold for 4 counts. Repeat 4-6 cycles. This activates your parasympathetic nervous system and lowers your heart rate before the cold hits.
During immersion: Extended exhale breathing
Inhale through your nose for 4 counts. Exhale slowly through your mouth for 6-8 counts. The extended exhale is what calms the nervous system. Focus all your attention on making each exhale longer and smoother than the last.
The physiological sigh (for acute stress moments)
If you feel panic rising during the first 30 seconds, use the physiological sigh: two quick inhales through the nose (one long, one short “top-off”), followed by a long, slow exhale through the mouth. Research from Balban et al. (2023, Cell Reports Medicine) showed this is one of the most effective real-time stress-reduction techniques.
What NOT to do
Do not practice Wim Hof-style rapid breathing (30-40 deep breaths) before getting into water. This hyperventilation technique is designed for dry-land practice only. The resulting changes in blood chemistry can cause lightheadedness and increase the risk of shallow water blackout. Multiple drowning incidents have been linked to combining hyperventilation with water immersion.
The 4-Week Plan
Pre-Week: Cold Showers (Days 1-7)
You do not need a cold plunge tub to start. Your shower works fine for the first phase.
- What: End your regular shower with cold water
- Temperature: As cold as your tap goes
- Duration: 15-30 seconds, building to 60 seconds by day 7
- Breathing: Practice slow nasal breathing through the discomfort
- Frequency: Daily or every other day
- Goal: Familiarize yourself with the cold shock response in a low-risk setting
This week is about learning the gasp reflex and proving to yourself that you can control your breathing when the cold hits. The first time will feel intense. By day 5 or 6, you will notice a meaningful difference in how your body responds.
Week 1: Extended Cold Showers
- Sessions: 3 per week
- What: Full cold shower (not just the last 30 seconds)
- Duration: 1-2 minutes at the coldest setting
- Temperature: Typically 10-15°C (50-59°F) depending on your tap water and location
- Breathing: Box breathing before stepping in, extended exhale breathing during
- Goal: Build confidence with sustained cold exposure and solidify your breathing pattern
By the end of week 1, the cold should still feel uncomfortable but no longer shocking. Your body’s cold shock response habituates quickly, often within 3-6 exposures.
Week 2: Cool Water Immersion
- Sessions: 2-3 per week
- What: Fill a bathtub with cold tap water (no ice needed). Sit in up to your shoulders for the target duration.
- Temperature: 15-18°C (59-64°F)
- Duration: 1-2 minutes
- Breathing: Physiological sigh before entering, controlled nasal breathing during
- After: Exit and let your body rewarm naturally for 5-10 minutes (see “The Soberg Principle” below)
- Goal: Experience full-body immersion and practice staying calm with your whole body submerged
Full-body immersion feels different from a cold shower because the cold hits everywhere simultaneously. The first bathtub session will be a noticeable step up from cold showers. That is normal.
Week 3: Cold Immersion
- Sessions: 2-3 per week
- What: Add ice to the bathtub or use a cold plunge tub at a moderate setting
- Temperature: 12-15°C (54-59°F)
- Duration: 2-3 minutes
- Breathing: Your established pattern. Focus on extending each exhale further.
- After: Natural rewarming. Light movement (walking around) is fine and can help.
- Goal: Push duration slightly while maintaining breathing control
If you have access to a cold plunge tub, this is a good week to start using it. If you are still using a bathtub with ice, 20-30 pounds of ice in a full tub will get you into the right temperature range.
Week 4: Full Protocol
- Sessions: 3-4 per week
- What: Cold plunge or ice bath at your target temperature
- Temperature: 10-15°C (50-59°F)
- Duration: 2-4 minutes per session
- Weekly total: Aim for 8-11 minutes across all sessions
- After: Natural rewarming. Track your mood and energy for 2-3 hours after each session.
- Goal: Establish a sustainable routine at a temperature and duration that genuinely challenges you
By the end of week 4, you will have a clear sense of what temperature works for you, how long you can comfortably stay in, and how cold plunging affects your mood and energy throughout the day.
After the First Month
Once you have a baseline routine, here is how to progress:
Temperature: You can gradually lower toward 7-10°C (45-50°F) if you want more intensity. This is optional. Most of the benefits are available at 10-15°C. Going colder is a preference, not a requirement.
Duration: Maintain 2-5 minutes per session. Going beyond 5-6 minutes adds risk without proportionally increasing benefits for most people.
Frequency: 2-4 sessions per week is sustainable long-term. Huberman’s 11-minute weekly total is a solid target to maintain.
Contrast therapy: If you have access to a sauna, combining heat and cold is the traditional Nordic approach and produces a stronger physiological response than either alone. Soberg’s research involved both sauna and cold immersion. See our contrast therapy protocol for the full routine.
The Soberg Principle: Why Rewarming Matters
Researcher Susanna Soberg’s work (2021, Cell Reports Medicine) found that the shivering and active heat generation after cold exposure is where much of the metabolic benefit occurs. When your body has to generate its own heat, it activates brown adipose tissue (brown fat), which burns calories and improves metabolic function.
The practical rule: After cold exposure, do not jump into a hot shower, sauna, or heated blanket. Let your body rewarm naturally for at least 5-10 minutes. This natural rewarming phase is part of the protocol, not just a waiting period.
If you are combining cold plunge with sauna in a contrast therapy session, Soberg recommends ending on cold. The final cold exposure followed by natural rewarming produces the strongest metabolic stimulus.
Timing: When to Plunge
Morning (recommended for most people): Cold exposure triggers a dopamine and norepinephrine release that lasts 2-3 hours or more. Morning plunges let you ride that elevated state through the first half of your day. This timing also aligns with your body’s natural cortisol peak in the first hour after waking.
Afternoon: Works fine but provides less alignment with your circadian rhythm. Some people report that afternoon plunges help with the mid-day energy dip.
Evening: Some people report difficulty sleeping if they cold plunge within 2-3 hours of bedtime. Others sleep better. Individual variation is significant here. If you want to try evening plunges, keep sessions shorter (1-2 minutes) and the water less extreme until you know how it affects your sleep.
The exercise timing question
This comes up constantly, and the answer depends on your goals.
If your primary goal is muscle growth: Do not cold plunge immediately after resistance training. Research (Roberts et al., 2015, The Journal of Physiology) found that regular post-exercise cold water immersion reduced long-term muscle and strength gains by dampening the inflammatory signaling that drives adaptation. Wait at least 4 hours, or plunge on separate days.
If your primary goal is endurance or general recovery: Cold immersion after endurance training does not appear to blunt aerobic adaptations and may speed recovery.
If you want the mental and metabolic benefits: Plunge at a time completely separate from your training.
Cold plunging before training does not appear to impair subsequent performance or adaptation.
Safety Essentials
Cold water immersion carries real risks if done carelessly. These rules are non-negotiable:
Never plunge alone. Have someone present or within earshot, especially during your first month. The cold shock response can cause disorientation, and in rare cases, cardiac events.
Keep your head above water. Submerging your head dramatically increases cold shock and the risk of the gasp reflex drawing water into your lungs. Immersion up to the neck provides the full physiological response.
Enter slowly. Walk in or lower yourself gradually. Jumping into cold water amplifies the shock response.
Get out immediately if you experience:
- Confusion or disorientation
- Uncontrollable shivering that worsens rather than stabilizes
- Numbness beyond mild tingling in fingers and toes
- Chest pain or irregular heartbeat
- Dizziness or lightheadedness
- Skin turning white or blue
Do not cold plunge if you have:
- Uncontrolled cardiovascular conditions (hypertension, arrhythmia, heart failure)
- Raynaud’s disease (severe)
- Epilepsy
- Cold urticaria (cold allergy)
- An active pregnancy (consult your doctor)
When in doubt, talk to your doctor before starting. This is especially important if you take cardiovascular medication or have any heart-related history.
Equipment: Start Simple
You do not need expensive equipment to begin. Here is a practical progression:
Weeks 1-2: Your shower. Free.
Weeks 3-4: Your bathtub with ice from a convenience store. $5-15 per session.
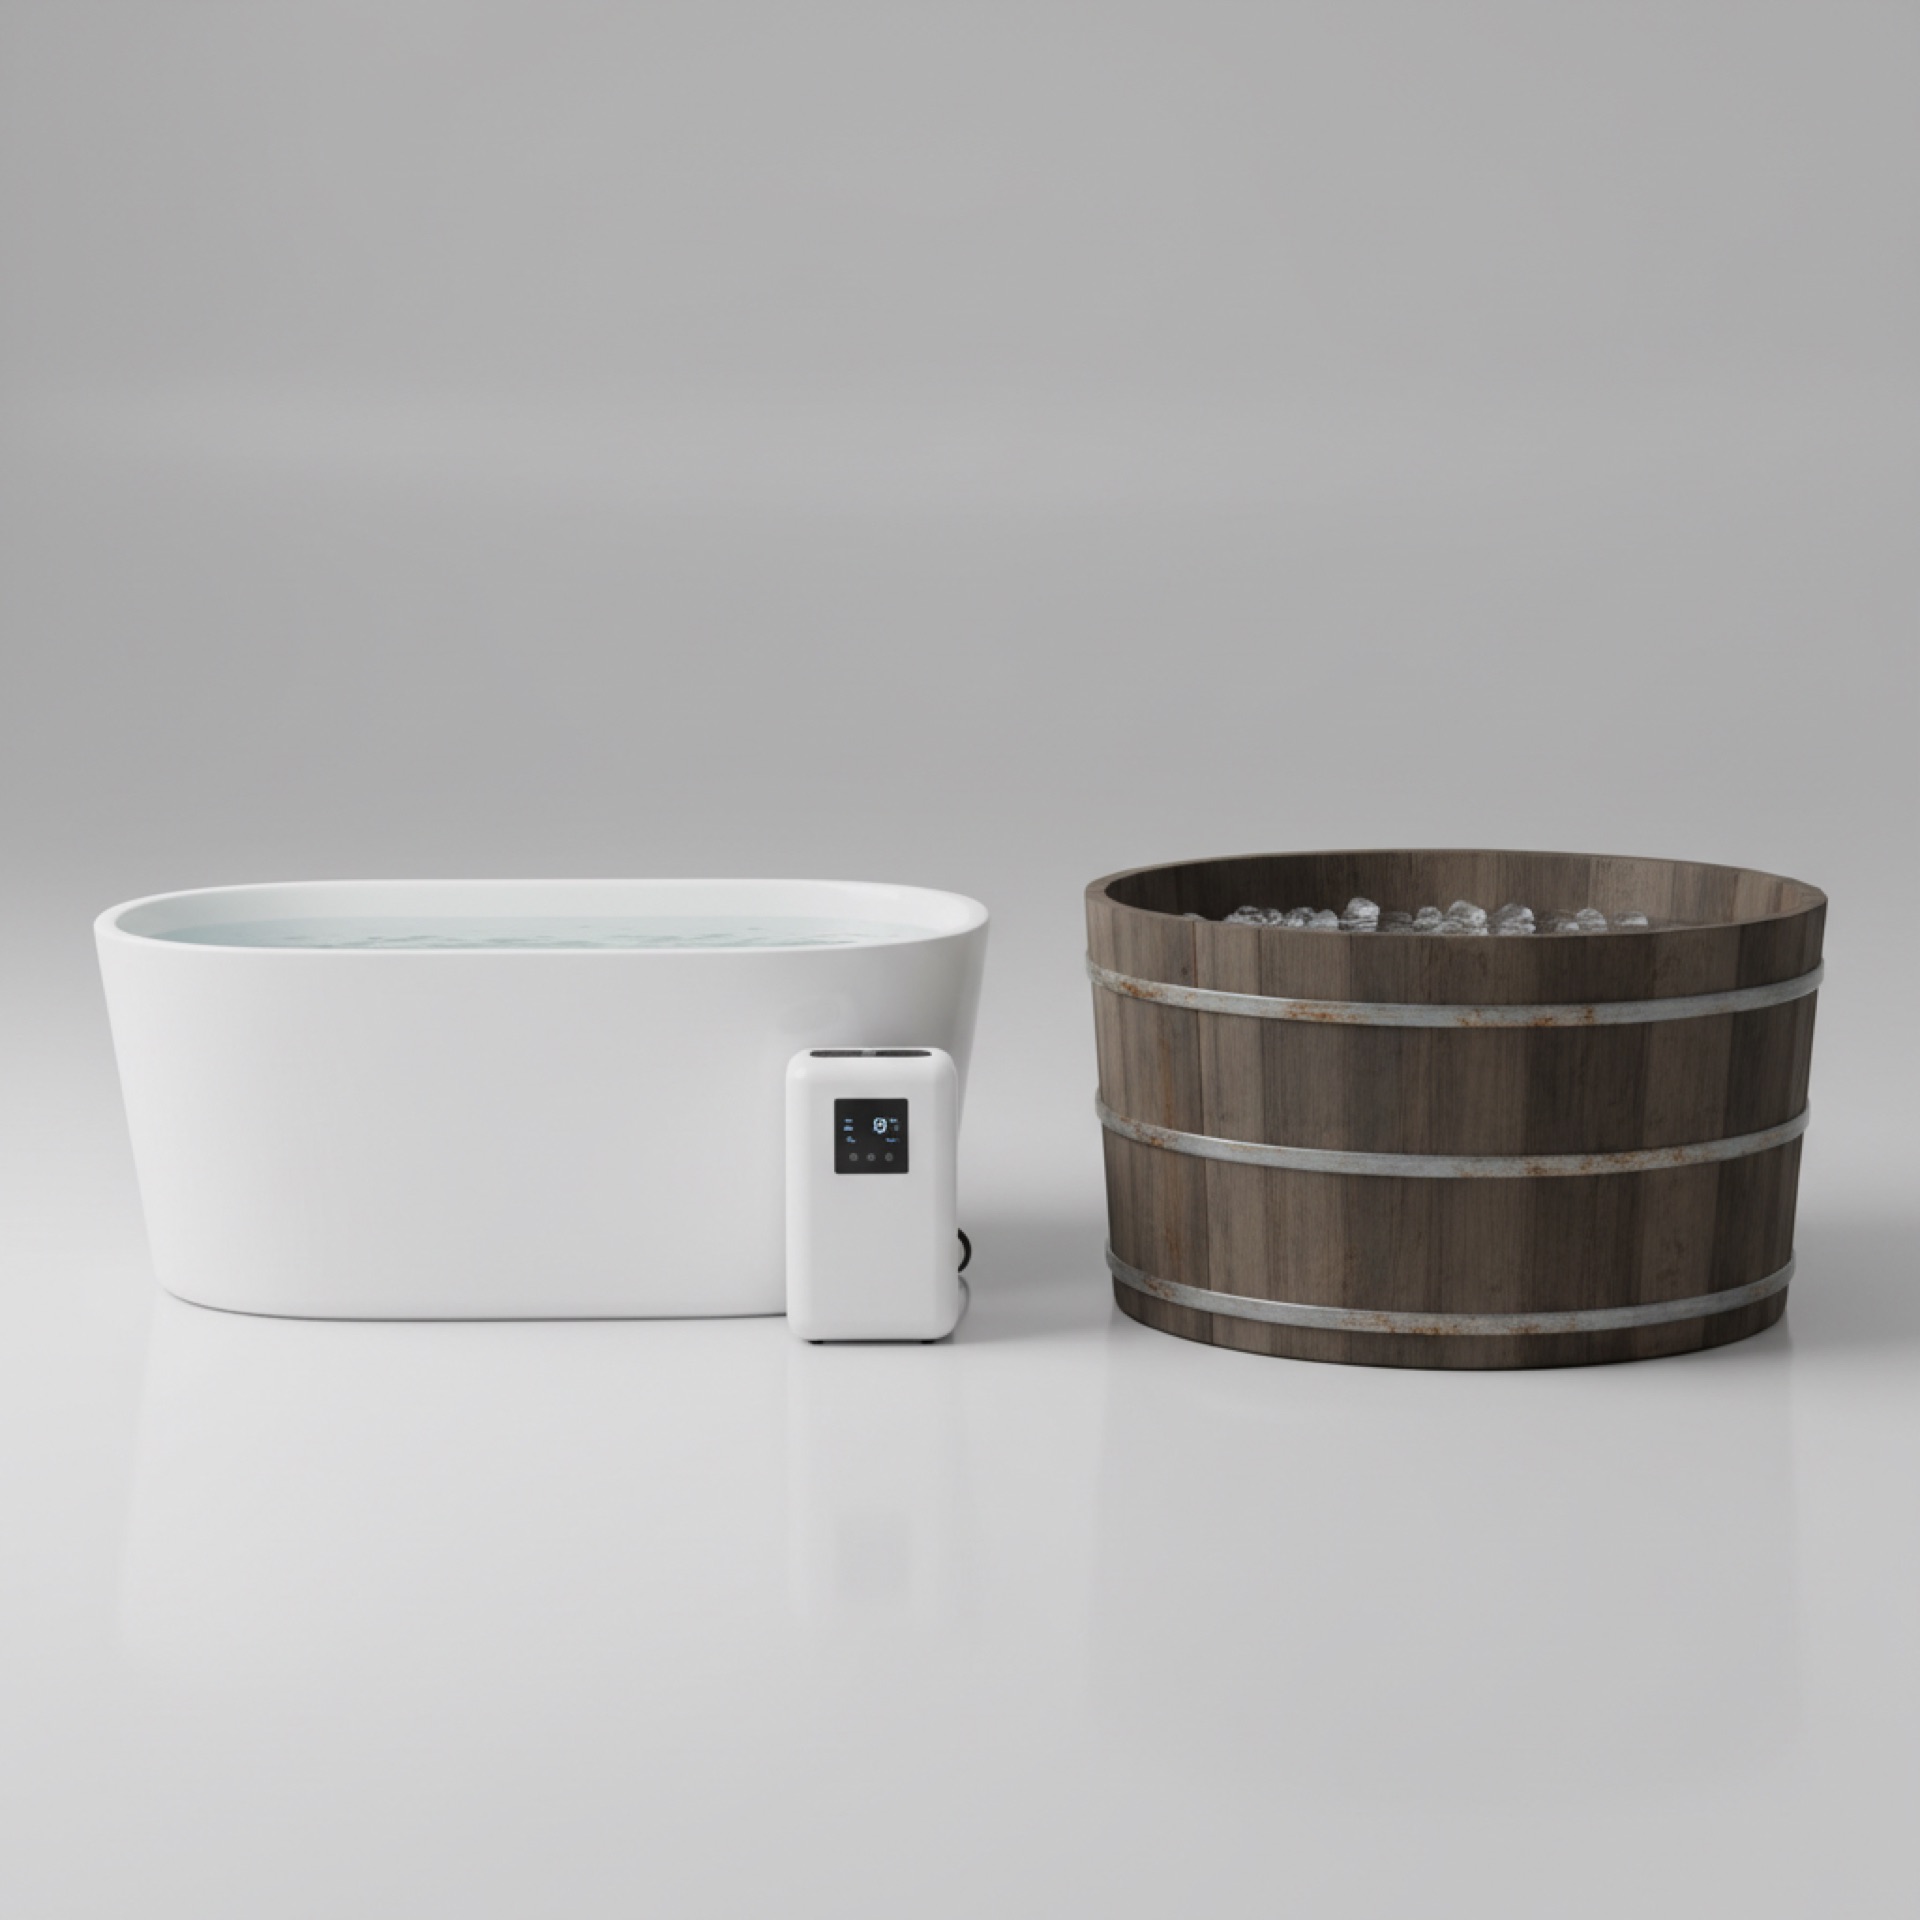
Month 2+: If you are committed and want consistency, a dedicated cold plunge tub eliminates the friction of buying ice and setting up. Two solid options:
Ice Barrel 300 (~$1,800) - No electricity, no chiller. A well-insulated barrel that holds temperature longer than you would expect. Add ice, step in, plunge. The barrel shape uses less water (and therefore less ice) than rectangular tubs. Best for people who want simplicity.
Plunge Evolve XL (~$6,690) - Built-in chiller maintains your set temperature automatically. Ozone filtration keeps water clean for months. WiFi app control. This is the set-it-and-forget-it option that removes all daily friction. Chiller owners consistently report higher adherence to their routines.
For a detailed comparison of more options, see our best cold plunge tubs review.
Quick Reference Card
| Parameter | Beginner (Weeks 1-4) | Intermediate (Months 2-3) | Ongoing |
|---|---|---|---|
| Temperature | 15-20°C (59-68°F) | 10-15°C (50-59°F) | 7-15°C (45-59°F) |
| Duration | 30 sec - 2 min | 2-4 min | 2-5 min |
| Weekly total | 4-8 min | 8-11 min | 11 min |
| Frequency | 2-3x/week | 3-4x/week | 2-4x/week |
| Breathing | Box breathing + extended exhale | Extended exhale | Your established pattern |
Frequently Asked Questions
I can barely handle 30 seconds. Is that normal?
Yes. The first few exposures are the hardest. Your body’s cold shock response habituates within 3-6 sessions. By your second week, you will likely handle 1-2 minutes at the same temperature that felt impossible on day one.
Will cold plunging help me lose weight?
Cold exposure activates brown fat and increases calorie expenditure, but the effect is modest. A 3-minute cold plunge burns roughly the equivalent of a short walk. Cold plunging has many well-documented benefits, but significant weight loss is not one of them. For more on the documented benefits, see our beginner’s guide to cold plunge therapy.
Can I cold plunge every day?
For healthy individuals at moderate temperatures (above 7°C / 45°F) and moderate durations (under 5 minutes), daily plunging appears safe. Many experienced practitioners plunge daily. However, 2-4 times per week is sufficient for the core benefits and gives your body recovery time.
Do I really need to let myself rewarm naturally?
If you want the metabolic benefits (brown fat activation), yes. The Soberg Principle is that your body’s effort to generate its own heat is a significant part of the benefit. Jumping into a hot shower immediately after cancels that process. Give yourself 5-10 minutes of natural rewarming at minimum.
I have access to a sauna. Should I combine them?
Absolutely. Sauna followed by cold plunge is the traditional Nordic approach and the protocol used in Soberg’s research. The combination produces a stronger physiological response than either modality alone. See our contrast therapy protocol for the complete routine.
The Bottom Line
Cold plunging does not require extreme temperatures, expensive equipment, or supernatural willpower. It requires a sensible progression and enough consistency to let your body adapt. Start with cold showers, build to full immersion over 4 weeks, and aim for 11 minutes of total weekly exposure at a temperature that makes you want to get out.
The neurochemistry is real. The Nordic tradition spans centuries. And the barrier to entry is as low as your shower handle. Start this week.
Related Articles
Plunge Evolve XL vs Ice Barrel 300: Chiller vs Manual Ice Compared
A detailed comparison of the Plunge Evolve XL and Ice Barrel 300. We break down cooling, temperature control, maintenance, total cost, and who each cold plunge is best for.
What Is Cold Plunge Therapy? A Beginner's Guide
Everything you need to know about cold water immersion: the benefits, the risks, and how to start safely.
Best Cold Plunge Tubs 2026: Compared Head-to-Head
We compare the best cold plunge tubs for home use, from premium chillers to budget ice baths. Find the right cold plunge for your routine.